|
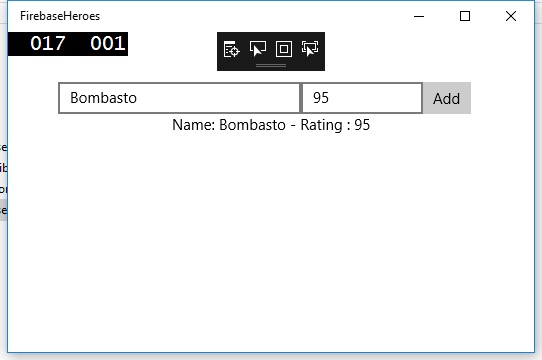
In the last post, I created a small UWP application in Visual Studio and added a small interface and a data model. The application and interface was very basic and simply populated a label with the text from two TextBox elements. At this point, it should look something like the image below...
FirebaseDatabase.net
The next step in my application is to add the Firebase connection and for that, I need to first add the FirebaseDatabase.net package - https://github.com/step-up-labs/firebase-database-dotnet
In the solution explorer, right-click on the FirebaseHeroes project (not the solution) and select “Manage NuGet packages…”. The package manager tab should open up. In this tab, click ‘Browse’ and type “firebase.database” (don’t forget the dot) and hit Enter. The top result should be Firebase.Database Version 1.0.0 by Step Up Labs Inc. Click Install, confirm the installation, accept the terms and wait for the operation to complete. It shouldn’t take very long. You can now close the NuGet tab. Note: A newer version may be available but for the purpose of this blog I am using v1.0.0. This version can be selected in the right-hand pane in Nuget Package Manager.
Looking at the FirebaseDatabase.net page at https://github.com/step-up-labs/firebase-database-dotnet gives a pretty good idea of what needs to be done, however, there is a caveat – authentication
Firebase Authentication and Credentials
While setting up the Firebase database, you may have noticed the “Default security rules require users to be authenticated” message. It is, of course, possible to set Firebase’s security to allow everybody to view the database, but that doesn’t like a good idea for a lot of applications, does it? The FirebaseDatabase.net page also mentions this: “For Authenticating with Firebase checkout the Firebase Authentication library and related blog post”.
So, another package is required? Let’s not do that. There is a simple authentication method which can be used so I’m going to take the easy option here. If per-user authentication was going to be used within this application, the extra package would be necessary, but at the moment I just want to authenticate the application/client with Firebase.
Create a HeroConn class
Because this is a very basic application for demo purposes, I'm just going to create a single class to deal with the database connection and operations.
In the Data folder in the project, add a new class HeroConn.cs and make it public. In that class, create two private string constants - databaseUrl and databaseSecret, and just initialise them empty strings for now, as below: namespace FirebaseHeroes.Data { public class HeroConn { private const String databaseUrl = ""; private const String databaseSecret = ""; } }
Get The Credentials
In a nutshell, for basic database authentication, Firebase requires two pieces of information:
The DatabaseUrl is the easiest of the two to find. Simply click on the Database button in the sidebar of your project console and it will be displayed just above your data. It will look something like this : https://tour-of-heroes-2bde9.firebaseio.com/ (ensure there is nothing after the final slash, which means that you are at the root node). Copy/paste this URL into the databaseUrl string in HeroConn.cs. Beside the Overview button, there is a gear wheel icon. Click it and then click Project Settings. In the new page, click the Service Accounts tab and then Database Secrets. There should be one database and secret in the list, click the Show button to unmask the database secret and copy/paste it into the databaseSecret string in HeroConn.cs. With this done, we are now ready to connect to the database in the next blog post, where we will create the connection and a method to insert data to the database.
1 Comment
mostafa`
4/6/2018 09:24:34 am
hello Leave a Reply. |
Author
2nd Year B.Sc. Software Development Archives
December 2017
Categories |
 RSS Feed
